In our last post I told you a little bit about a recipe for Salted Caramel Mocha Cupcakes that I had found which inspired me to alter some recipes I have and make my own cupcakes from scratch instead of an altered boxed mix!!
Here's what I started with!!
Salt, cocoa powder, caramels and coffee!!! I don't drink instant coffee... I just use it for my chocolate cake recipe, so I just get the cheap stuff. Works the same!
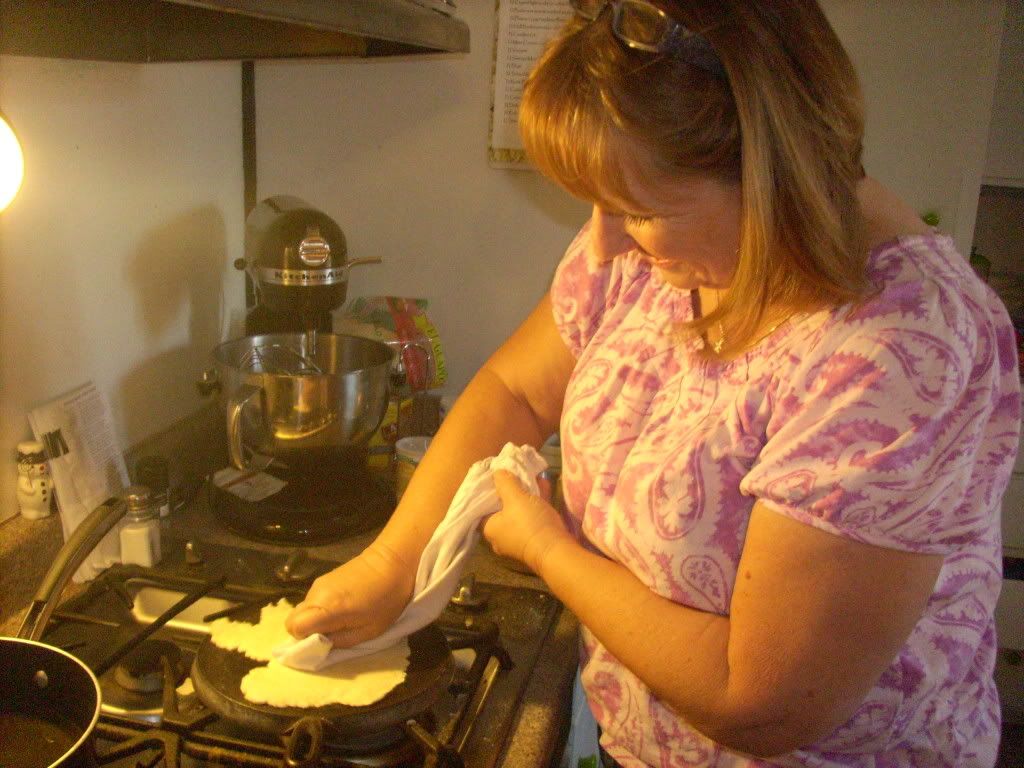
Here we go! Preheat your oven to 350 degrees F and line a muffin tin (or in my case, my muffin stone) with paper bake cups.
I know my stone is ugly... but ugly stoneware is loved and well used stoneware!!!
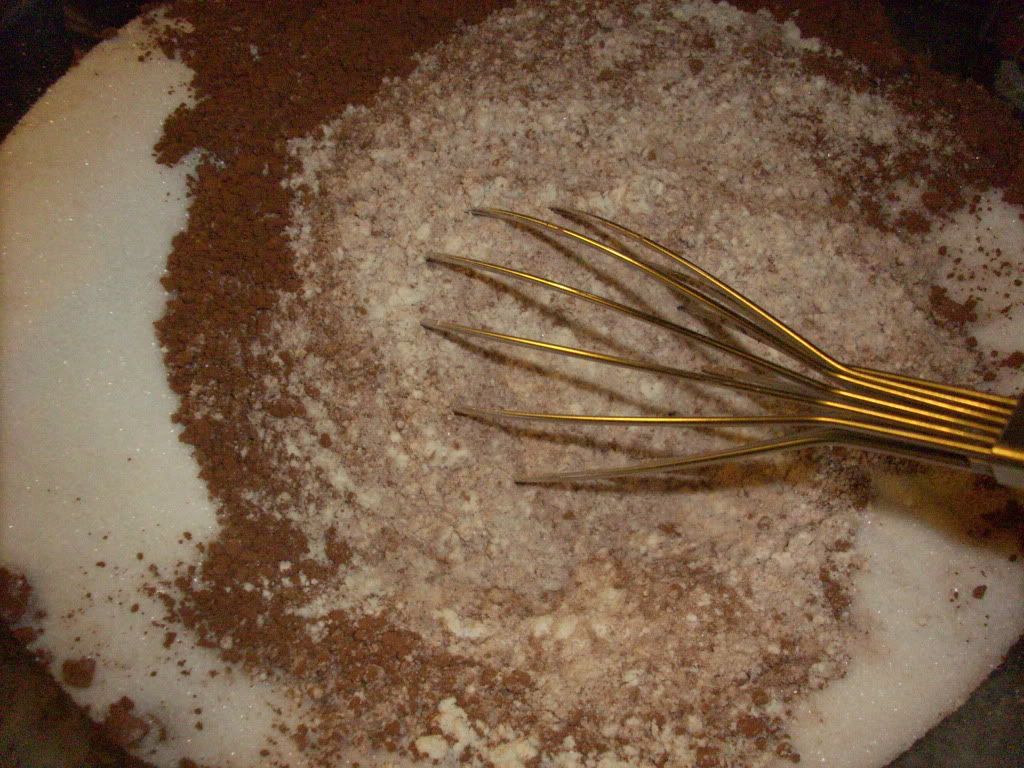
Next in a large bowl, combine:
3 cups all-purpose flour (I used unbleached)
2 cups granulated sugar
1/2 cup unsweetened cocoa powder
2 tsp. baking soda
1 tsp. table salt (I used iodized sea salt)
Mix with a wire whisk.
In a large measuring cup (I use a 4 cup glass measuring cup) combine the following:
2 cups of HOT water
3/4 cup vegetable or canola oil
4 Tbsp. instant coffee granules (5 or 6 will give you a stronger coffee flavor)
2 Tbsp. distilled white vinegar (YES vinegar!!!)
1 Tbsp. vanilla extract (YES a WHOLE tablespoon!!!)
No need to stir this, just put it all in the measuring cup. I forgot to take a picture of this step! Please, forgive me!!
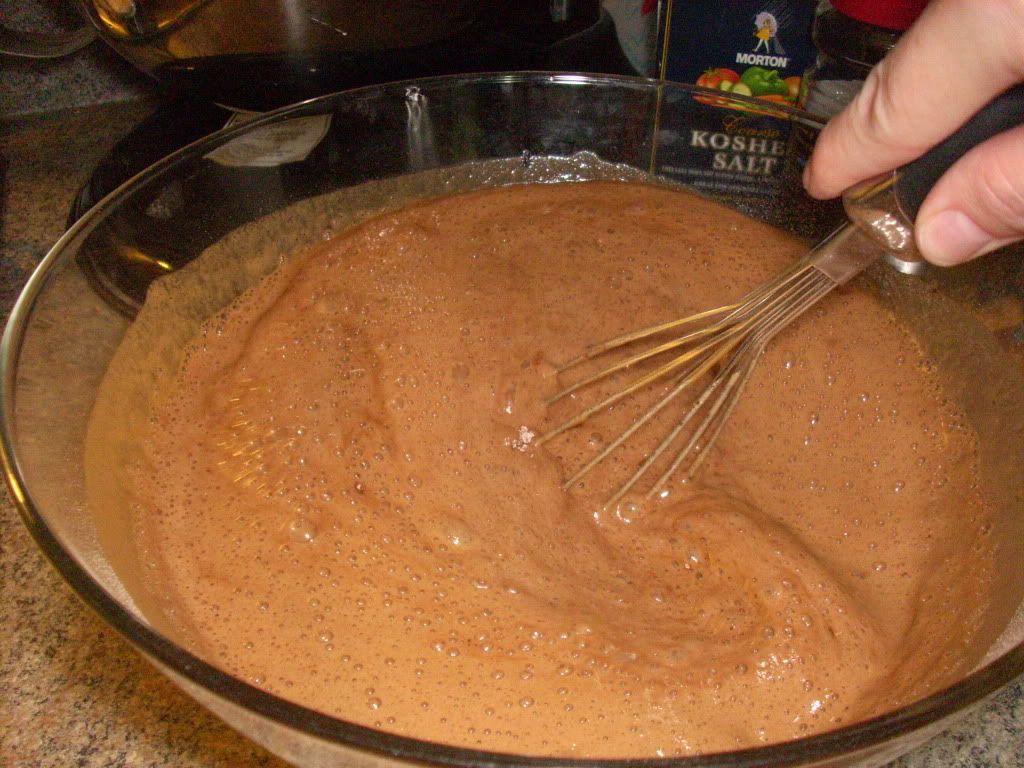
Next, pour the ingredients from the measuring cup into the dry ingredients and combine with the whisk. Trust me - the whisk is enough, no need for a spoon.
Fill your cupcake liners about 3/4 full with this yummy nummy batter (which is OK to snack on! No eggs = no salmonella!!)!
Bake for 20-25 minutes! Make sure to bungee shut the oven! Oh wait... that's just at my house! See!!
Long story short... my oven is old and has a broken spring! If I don't bungee it, the kitchen gets HOT and the gas runs NON stop!!
While you are waiting for the cupcakes to bake, unwrap your caramels and place them in a bowl until needed. Also pour a couple teaspoons of coarse Kosher salt into a small bowl.
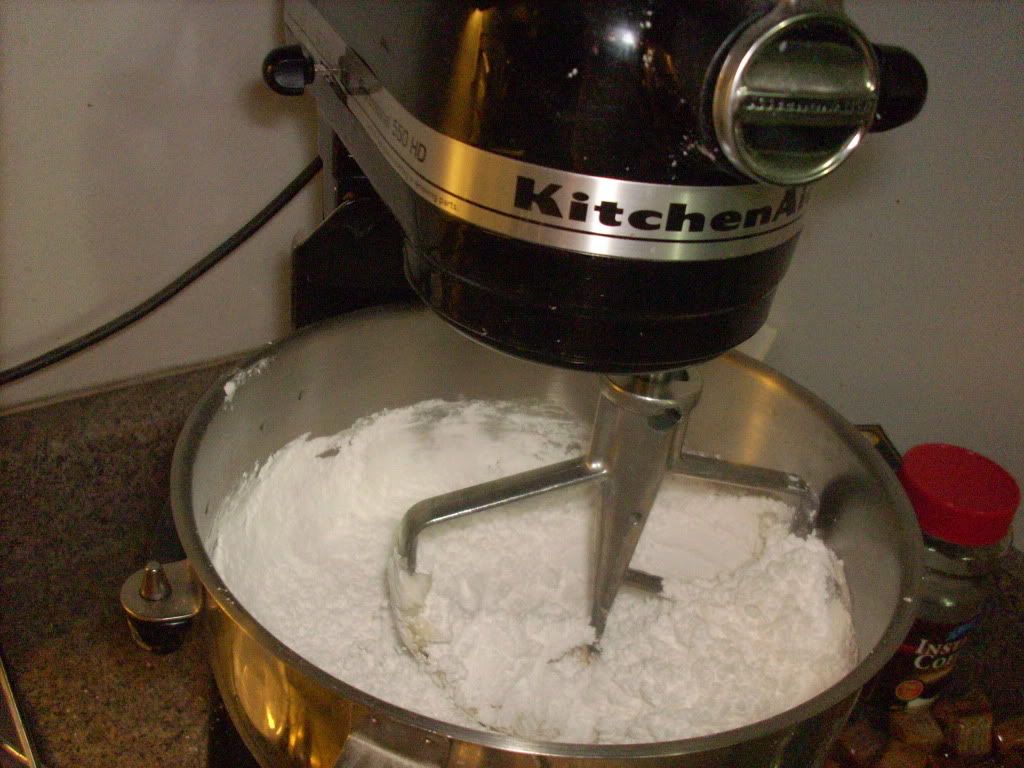
Now it's time for frosting!! This is an altered butter cream recipe. It is good!!! I fire up the Kitchenaid for this one!!
In a mixer (or large bowl and use a hand mixer) combine:
1 cup vegetable shortening
1 Tbsp. vanilla extract
1 pound powdered sugar
1 T. Meringue powder (found at Joann and Michaels with the cake stuff)
10 tsp water added one at a time
This is pretty simple, put everything but the water in the mixer (or bowl), turn it on. I use the "2" setting on my mixer. You want it high enough to mix it, but not so high that it throws the powdered sugar out. Add the water one teaspoon at a time. I used 10 tsp, use more or less depending on the humidity. You want it slightly firm and you'll see why later!!
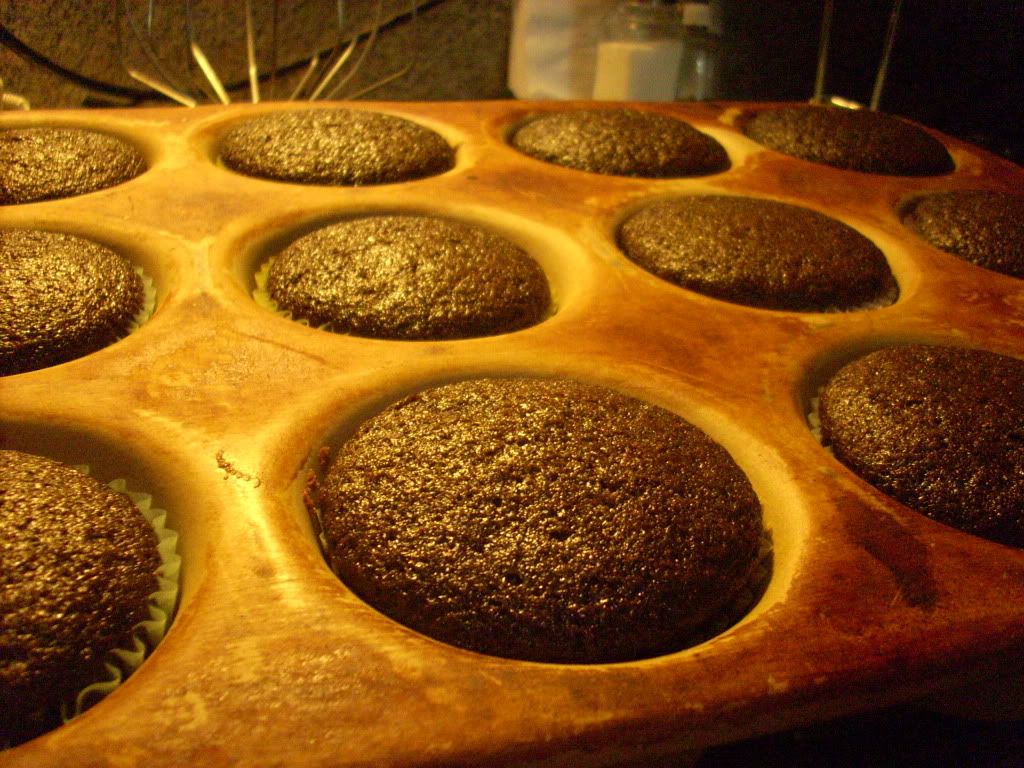
Cupcakes are done! Pull them out of the oven. Let them cool in the pan for 5ish minutes.
Aren't they beautiful?!?!
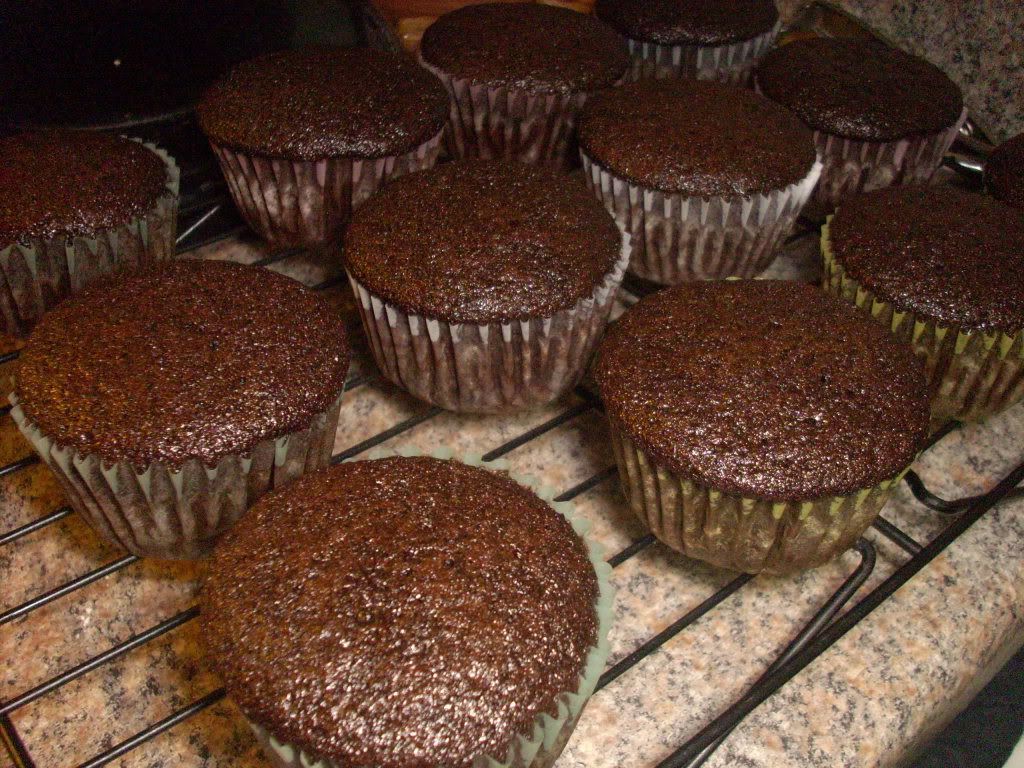
Now move them to a cooling rack to cool for another 10-15 minutes. At this point you can put your next batch in the oven!
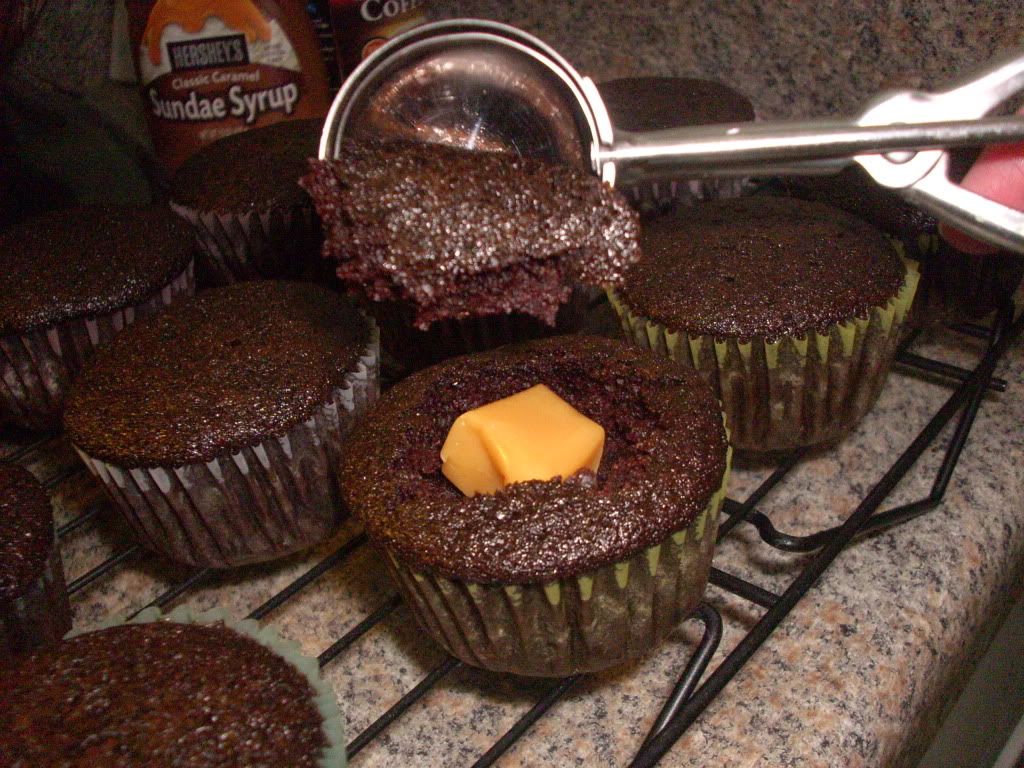
Next you're going to scoop out a small amount from the top of the cupcake, put in a caramel, sprinkle with some of the coarse kosher salt then replace the top pressing down. It won't be completely flat.
I did this while they were still slightly warm which made the caramels melt a little bit!! YUM!
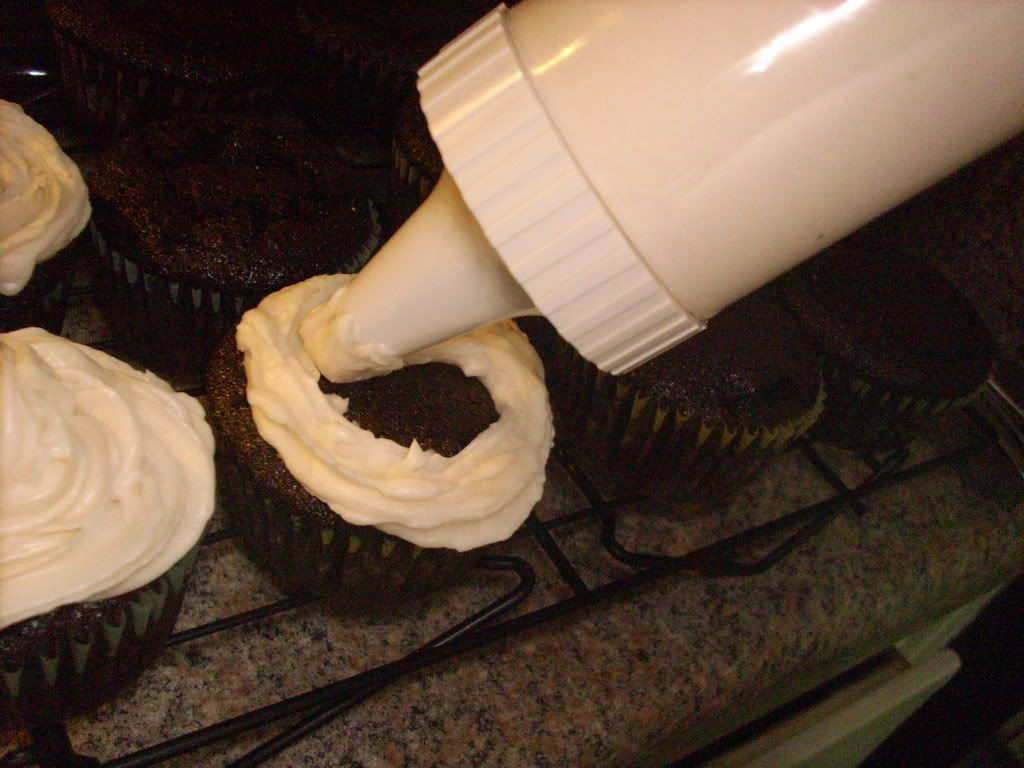
Now it's time for the frosting!! You can just spread it on. I used my fun gun thingey!! It's kinda like a pastry bag, but without the bag.
If you do it this way, make sure you swirl from the outside in!!
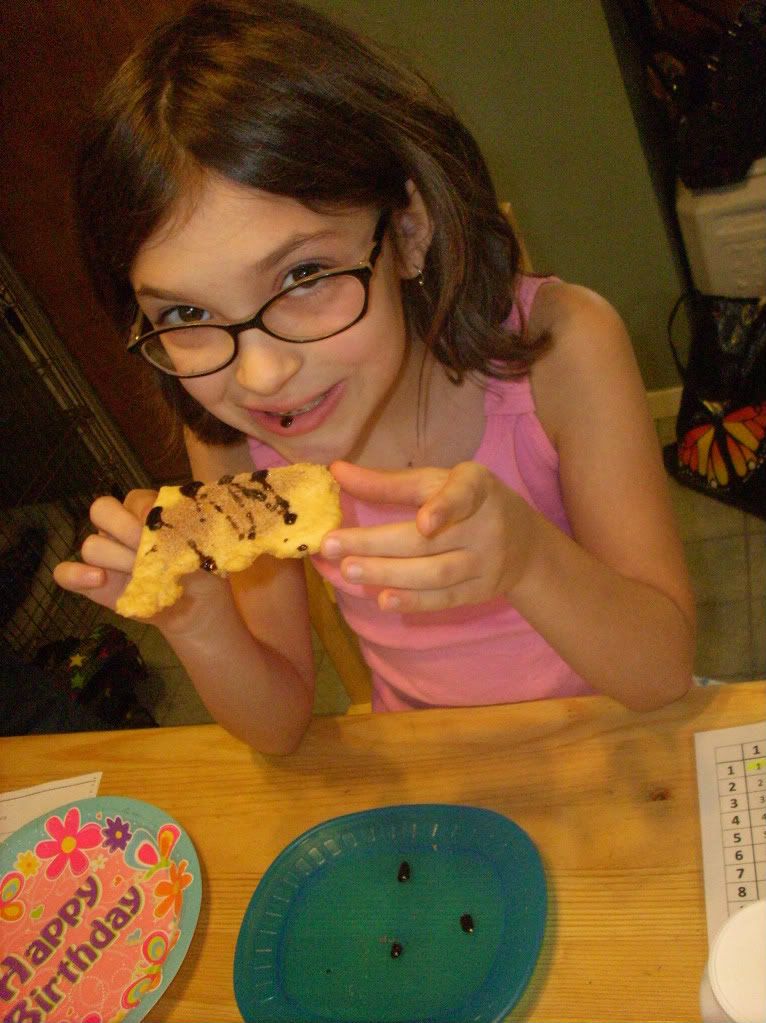
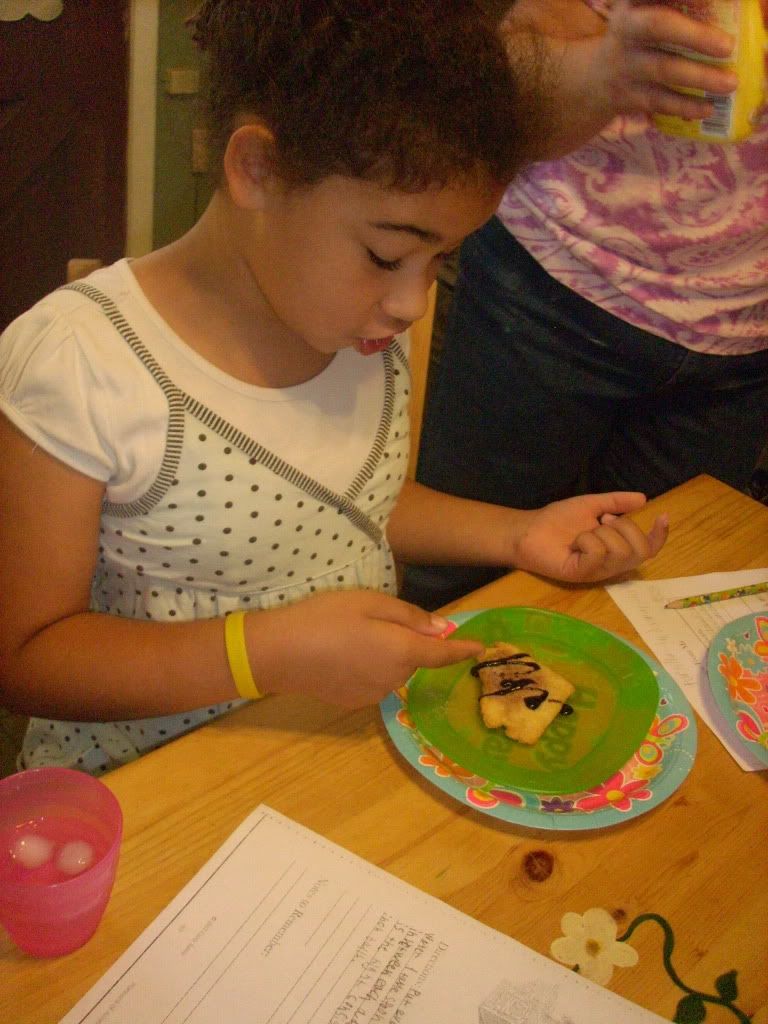
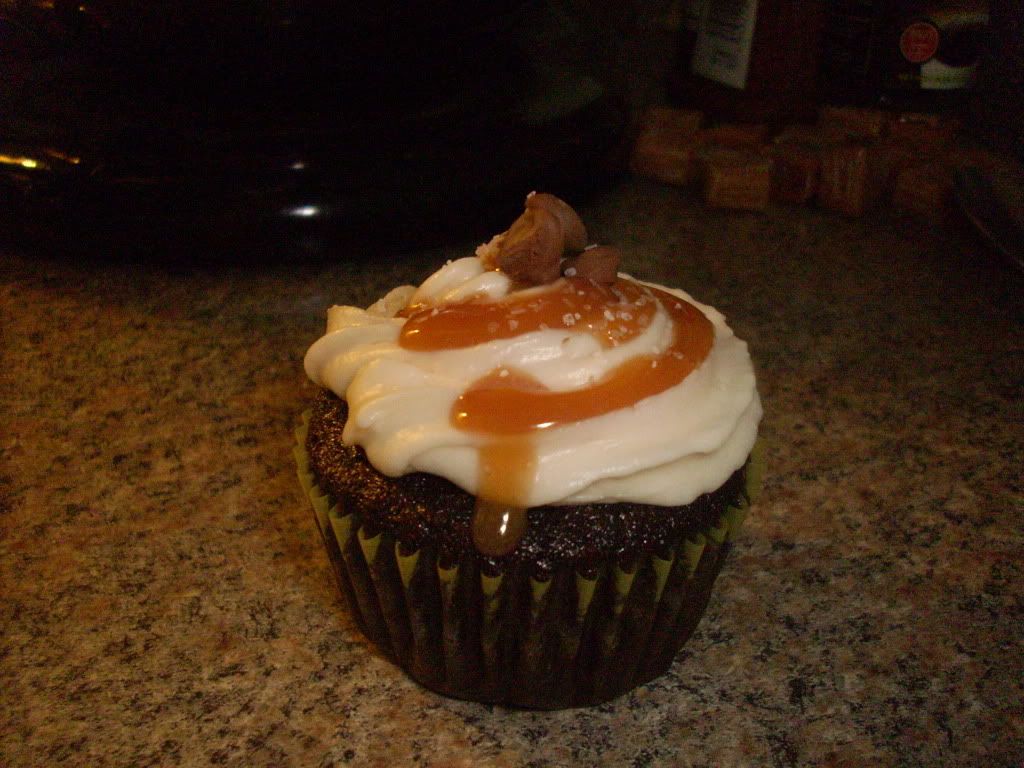
Next you add a drizzle of caramel sauce (I just used an ice cream topping that was in my fridge!), a sprinkle of salt and I topped mine off with a few chocolate covered coffee beans!!!
DE-LISH!!! I really liked the mild coffee flavor of the cake!! Using a caramel candy instead of caramel topping made this easier to eat... I didn't have caramel oozing all over my hands. It was still messy, but not as bad as it could have been! I did the vanilla frosting since it reminded me of the whipped cream that Starbucks puts on their Salted Caramel Mocha Frap! To make the coffee beans, I just melted down a few milk chocolate candy melts (Wilton makes them, I got them in a bulk bin from a local grocery store), threw in some of my own Dunkin Doughnuts coffee beans and put them in clumps of 3 on wax paper to dry. Good stuff!!!
If you try this, please share with us what you thought!! I've only made them this one time but I am SO excited about them and could not wait to share!! And please - share our blog with your friends!!!
Have a great rest of your weekend!!!
~Alicia