Wednesday, June 22, 2011

Going On A Fairy Hunt

Tip Junkie handmade projects

Our first summertime fun activity is all about fairies, or at least their houses! (I know it sounds girly, but trust me even boys get into this one!)  One of our favorite things to do is building fairy houses.  Now in case you don't know what a fairy house is, it is a small structure for fairies and friends of nature to come and visit. Fairy houses are made out of things only from nature.
A fairy house is kind of like a real house, its all about location, location, location. Take a nature walk around the yard or the park and find the perfect spot to build your fairy house. Some things to keep in mind when searching for the perfect location: shade, water and food source, etc.


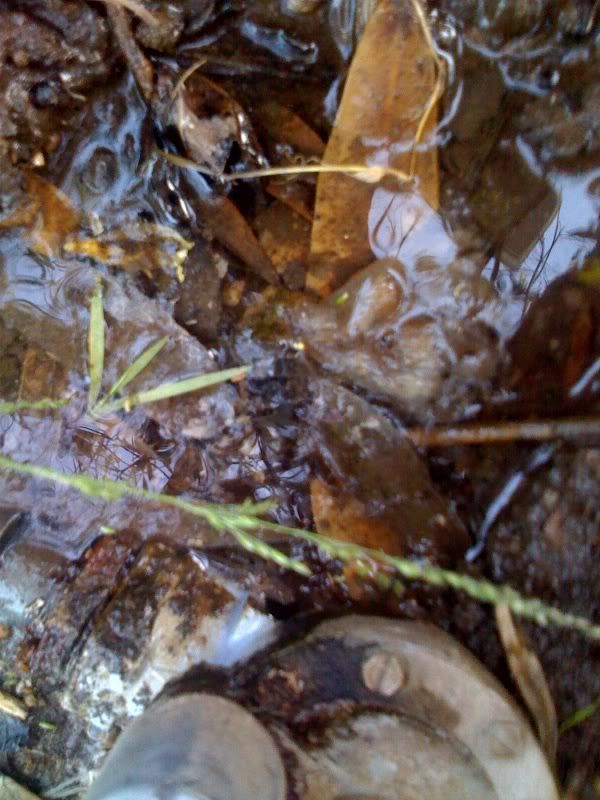
We found this puddle of water by a leaky sprinkler in the yard. Looks like a perfect swimming hole for fairies to me!
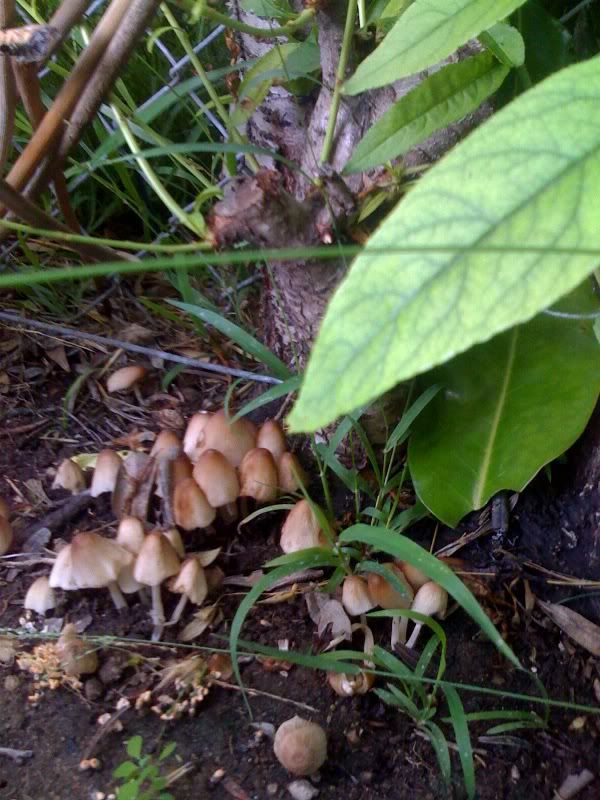
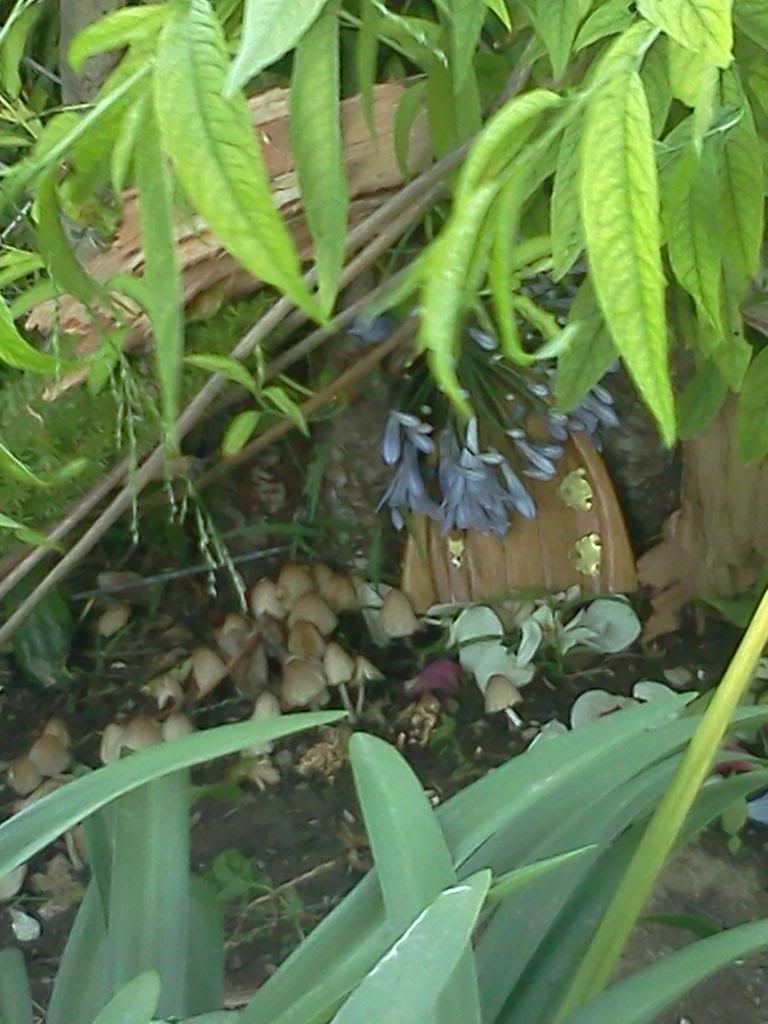
The leaky sprinkler head just happened to be by this collection of toadstools! What luck!! I'd say we've found our perfect building location!

 While on your search for the best real estate in all the land, keep your eyes open for things that you can build your fairy house with. Remember, fairy houses can only be built with things from nature! Things to look for would be: bark, flowers, rocks, wood chips, leaves, snail shells, feathers, sticks, seeds, etc. Also, be on the lookout for other fairy houses! There could very well be fairies living in the area already, and you just didn't know it! (If you have time it might even be fun to go out before you involve your kids and make a few simple fairy homes throughout the yard, this way they'll find actual fairy homes; this gets them really excited! Trust me! ha ha!)

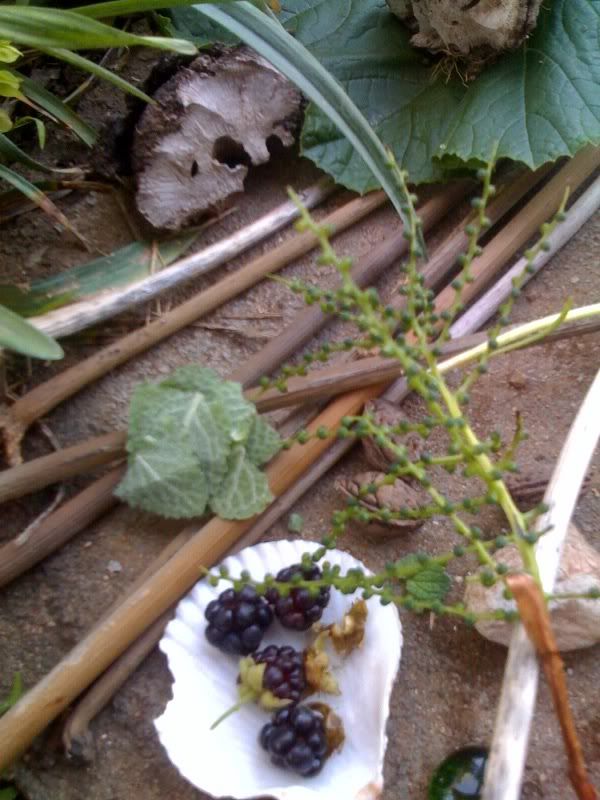
We picked these fresh berries from the garden so that our fairies could have something to snack on after they went swimming!

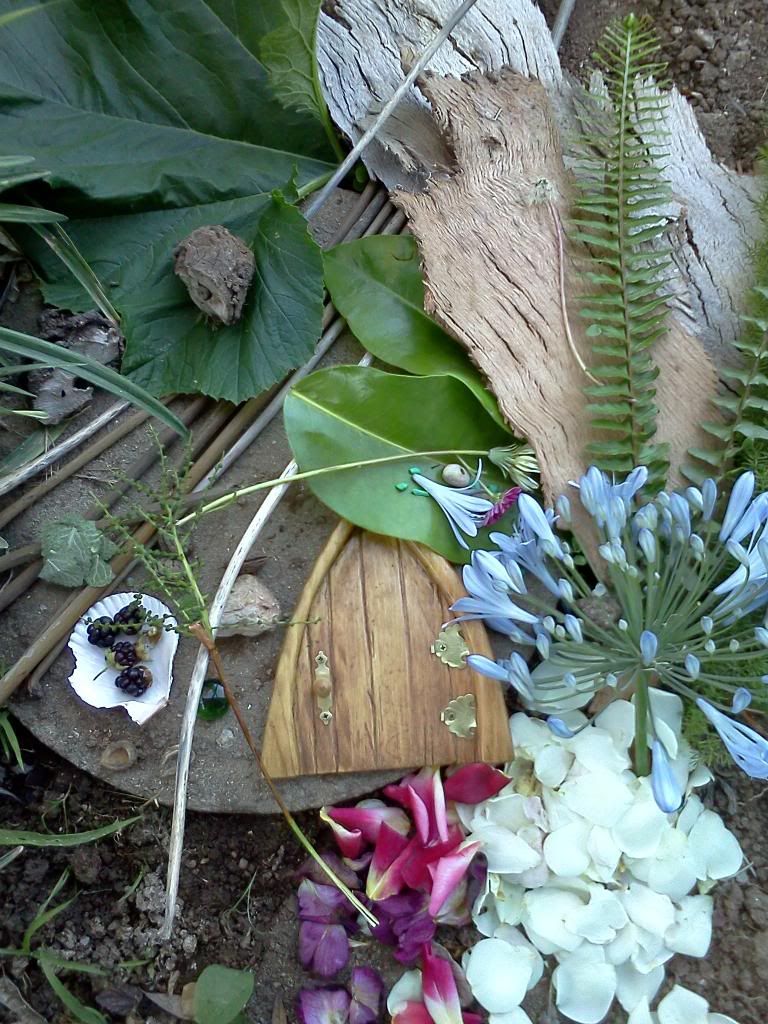
These are some items that we've gathered! Look we actually found a a piece of bark that looks just like a door! OK, OK not really! My Uncle made this door and it was just too cute to resist using it for our house!

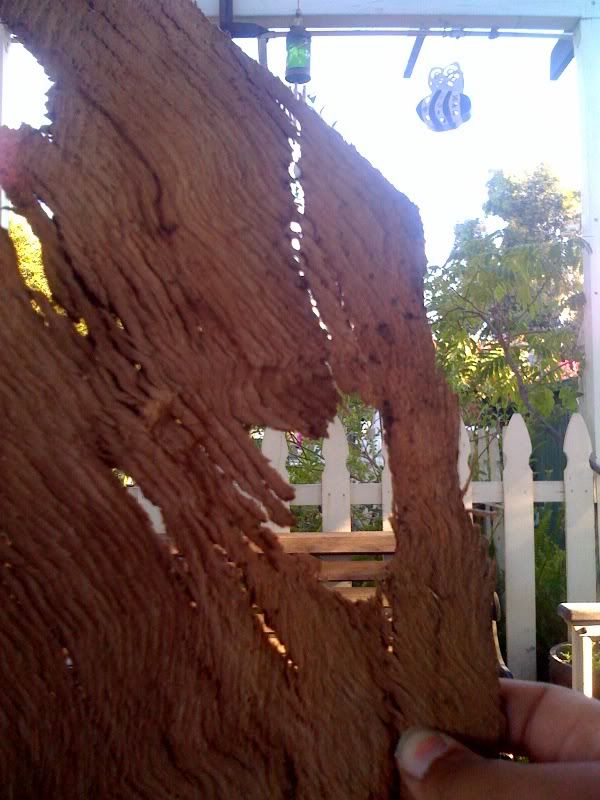
We did find a piece of bark that had a heart shaped fairy house window though!

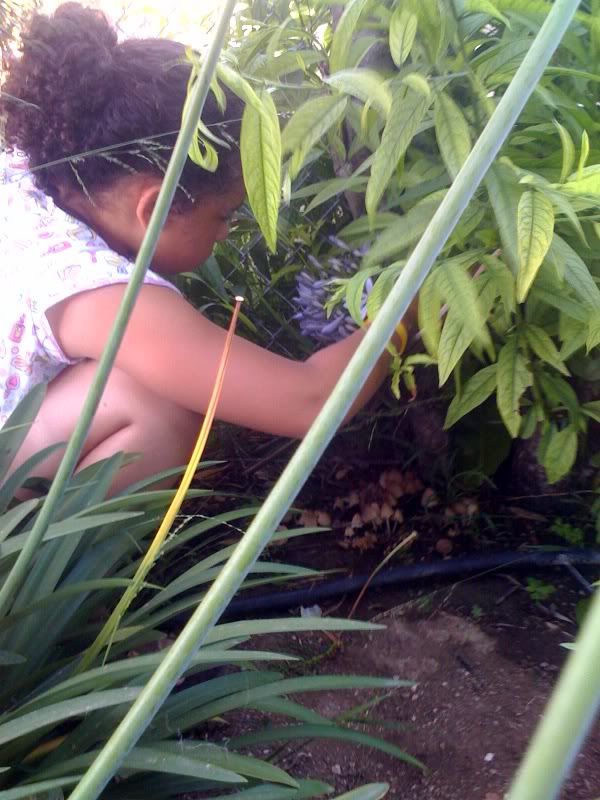
After you have found your ideal building spot and gathered all your materials, its time to get to building! There is no specific blueprint to follow, just your imagination to guide you!


The finished product! Looks like a fairy dream house to me! I wonder if any fairies will visit tonight?

The best part about this afternoon?! We created a wonderland in our everyday surroundings, and it didn't cost me a penny! OK, that's just a bonus! The real best part is being able to spend time with my daughter; exploring and creating  something together. That's the good stuff!
                                    

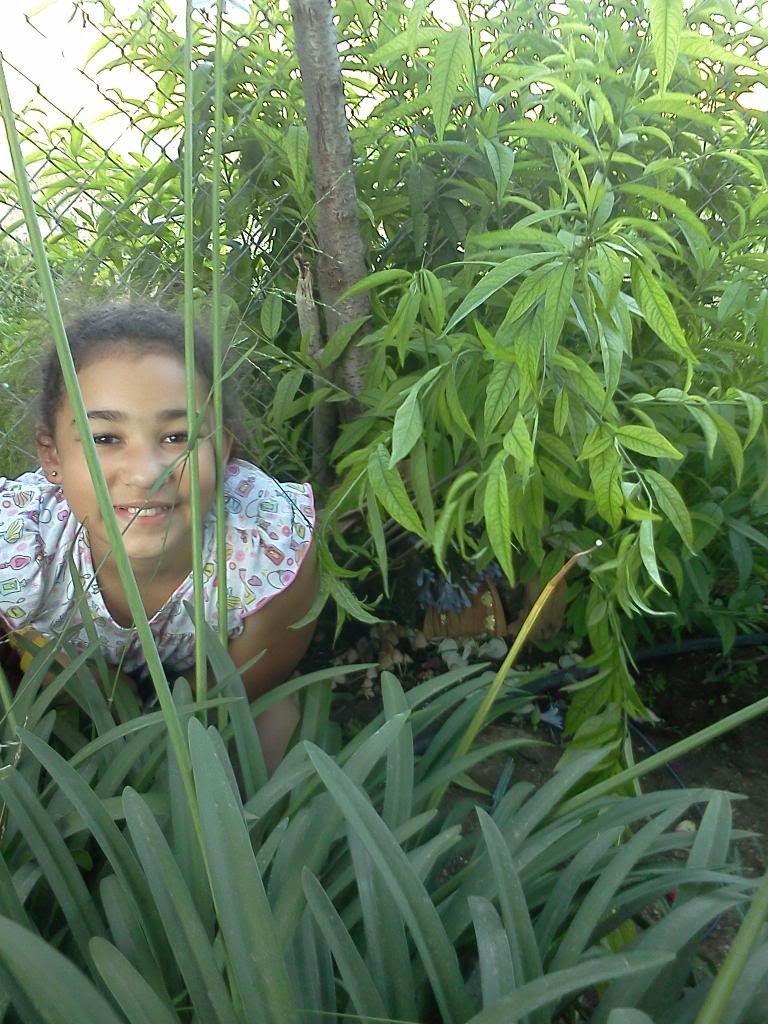
When you're finished don't forget to take a picture with your fairy house!
  (We would love to see your fairy house, email us at raspberrycordialmusings@gmail.com)

I hope you have a great time! If you would like additional ideas and perhaps even a book to go with your fairy house building endeavor check out www.fairyhouses.com .


Sunday, June 19, 2011

Summertime, Summertime, Sum Sum Summertime!

  
No more pencils, no more books, no more teacher's dirty looks! OK, we didn't actually blow up the school as the famous Alice Cooper song suggests; but it's official, school is out for the summer! My daughter is so excited she can barely contain herself! Though her traditional school work is finished, we have set up a summer schedule for her, this is to help her stay on track.  Her schedule consists of such things as reading, math drills, practice of her violin, and also of her taekwondo techniques. This will help keep her focused during the summer, and make the transition back into the school year much more pleasant! (ha ha!)
   While I want her to have a focused summer, I also want my daughter to have a fun summer! So, in the event that she checks off everything on her schedule during the work week, on the weekend we will have some good ol' summer fun! Which brings me to the reason why I am telling y'all this! Throughout the summer I would like to share some no cost (sometimes low cost) summer fun ideas for you and your family to enjoy! So be on the look out for our Summer Fun Posts! I hope that you will try them out and share with us how it goes!

~Sonya

Monday, June 13, 2011

Make-it Monday!!

It's Monday! We have something really fun for you to make this week!! Just make sure you pick up a mop next time you are at the dollar store!!!


This week we are making a Mop-Horse! We made these with our kids this past weekend and they all 3 LOVE them!! I'm sorry I don't have any pictures of them up, I'll try to add some soon!

You will need:

1 mop (see photo below to make sure you get the right kind!) from a dollar store.
Brown craft paper or a brown paper bag - the big kind from the grocery store.
Small amount of newspaper
Stapler with staples
Markers or crayons
Packaging tape

So the mop you get should have this kind of head...


This part of the mop will be your horse's tail!

First you will draw and cut out the shape of a horse's head on your brown craft paper. Make 2 - one for each side. Have your child decorate it with eyes, hair, mouth etc. then using the packaging tape, attach the handle to the back side of one of your horse faces. I used 3-4 strips of tape.

Line up the 2nd side of your horse face and start stapling around the edges. Before you get all the way around, stuff in some newspaper. Don't bother stapling the bottom, I just added some more packaging tape.
                                                                  
Then let your kids run around and enjoy!! We did this as a part of our jousting tournament and we had a blast! The best part was that we had all but the mops on hand so we only spent $1 to make this awesome craft!! Have fun and please share your photos with us!!

Sunday, June 12, 2011

Magic Words

   Remember when you were a little kid and you asked Mom for seconds on dessert, she would say, "whats the magic word?" to which you would reply, "PLEASE"! The result of this magic word was more dessert! Score! Is the word "please" still in the English language these days; and what about "thank you", does it still exist? These are little words that can make a big difference. I thought that it was common courtesy to use these words, but I rarely hear them.
   I once heard that saying "please" is admitting that you need help and realizing that the fulfillment of that need takes time from someone else. Saying "thank you" indicates that you truly appreciate what was given to you, and that you were not entitled to it. Wow, let me break that down! I need help, and I'm not entitled to it, so I should be appreciative when I receive it! (But I thought the world revolved around me! ha ha!)


When it comes down to it, manners are really all about thinking of others! Take into consideration those that are around you, and then act on that consideration. Do this and you too can have good manners. The best way to teach your children manners (and pass on this dead art) is to lead by example. Children are little mirrors of their parents, what you see is what you have taught them! So, if your children's manners are not the best,perhaps, your own manners need some brushing up. Sometimes we do not even realize that we are demonstrating bad manners. All you have to do is stop and think. At first it make seem like an inconvenience, but after a while it will become like second nature to you.
   Keep in mind the person walking behind you into the market; hold the door open for them. Make an effort to not be on the cell phone when you walk up to the register to check out. Say, "thank you" for your service (regardless of if it was really great service, that is a whole other blog post brewing right there though! ha ha!) Kindly, let the person with their blinker on, over, instead of speeding up to avoid letting one more car get in front of you. When you accidentally bump into someone because you were texting instead of looking where you were walking, say, "excuse me" and apologize. I realize that we all lead busy lives, and in these lives the world does revolve around us and our families, but these small courtesies will cost you only seconds a day, and in the grander scheme of things they will make your world and someone Else's a better place. 

Imagine if everyone exercised good manners! Well, that will never happen you may think to yourself. Well you are absolutely correct, not everyone will aways  use manners, it's true! However, you can cause a small wave of kindness in a sea of self-centeredness. Revive common courtesy by teaching it to your children. Teach your children that the world does not revolve around them, and that they should appreciate everything, even the smallest things, for they are not entitled to anything. Teach them to be mindful of other people's needs and not just their own. Teach them to be helpful. Instilling your children with your morals, and values, and showing them how to respect people around them, will not only make your family life more pleasant, but it will pay off for years to come. These lessons will assist your children as they grow up and pursue their own personal and professions lives. Just think how bright your courteous children will shine in this dark world of rudeness! :)               

-Sonya


Monday, June 6, 2011

Make-It Monday!!

Happy Monday friends! It's that day again where we tell you how to make something! Could be a craft, could be a recipe or... a Coupon Binder!!!


Last April my husband was laid off from his job. I saw a few of these crazy ladies on Facebook who save TONS of money by using coupons, so I decided to give it a try! Admittedly, I have not been doing very good lately because it does take a few hours a week and I just haven't had the time. Also, my precious coupon binder (pictures to follow) has gone missing. I don't know if it's in the garage or at a store somewhere, but it's gone and I'm sad. One day I will find or replace it!

To start, you need a 3 ring binder, page protectors, a pencil pouch with the 3 holes, stuff to go inside said pencil pouch (instructions on that below) and baseball card holders.


I use a 2" binder. This one I got at Target for $3.89. It has the clear cover so you can insert photos, etc. As you can see, I have a picture of my family in the front. I do this as a reminder of why I spend hours each week clipping coupons, matching deals online and in ads and going to as many as 10 different stores each week. Also, it helps me tell the front from the back! 

On the inside front I keep coupons I haven't cut out or sorted yet. I also keep my lists here after I've made them. As I make each list (one for each store) I use a paperclip to hold the coupons for that trip to that list. Sometimes I don't use them all, so I put them here until I have time to put them where they go.


This is my super rad Strawberry Shortcake pencil pouch. You know you're jealous. I got it at Dollar Tree!


Inside of my pencil pouch I have sticky notes, scissors, rubber bands, paperclips, a calculator, pens, a pencil, a sharpie marker and for some reason a penny.

 
After the pencil pouch comes store specific page protectors. This one is for CVS. It contains the current sale ad as well as any store specific coupons. When I have them, this is also where I put my Extra Care Bucks (coupon good for a certain dollar amount off a future purchase). I have one page protector for each store I frequent. This makes it easier to keep track of the sale ads too.


Next comes my categories! I just used regular page divider things that were $0.97 for a 5 pack at Target. You can get nicer ones, but I'm cheap so I got these! My categories are 
*meat & dairy 
*frozen foods, drinks, juices 
*cereal, breakfast foods, breads 
*flour, baking, oil 
*pasta, rice, seasonings, crackers, cookies 
*paper goods, household and cleaning supplies 
* personal care, meds, pets 
*sauces, condiments, dressings, jellies 
*canned goods, soups 
*restaurants, etc.


Here is one of my coupon pages. I use the trading card pages that you find over by the baseball, Pokemon and other cards of that sort. I found them in a pack of 30 pages for $4.99 at Target. I have about 80 pages in total, but I'm crazy.

 
Here is a photo of one of the blank pages for your reference.


Behind the last tab is where I keep all my restaurant and fast food coupons in a single page protector. I sort through this and my other coupons about once a month and pull out all the expired ones.


Right behind the coupons I have the nutrition facts for various restaurants. A lot of places have these at the front or you can print them from online. We like to know what we're eating, so we like to have these.


Finally, in the back is another pocket with extra paper (usually scraps from my online printed coupons) and sale ads for other non-grocery stores and Costco - gotta have those Costco coupons! Now, I'm not at all one of those "extreme" couponers and if I'm being really honest - they irritate the living daylights out of me! I buy only what my family can use (I don't clear the shelves of sale/coupon items). I do try to keep a small stockpile of certain things (toothpaste, toothbrushes, deoderant, canned goods and non-perishables), but it's not a huge stockpile and I have found that it comes in handy when someone unexpectedly needs to stay the night or if I have a friend in need!

I hope you enjoyed this post and that you can save yourself some cash by making (and using) a coupon binder!! If you want to know who I follow on Facebook, let me know! Maybe I can get their permission and have a whole link-up post!

~Alicia